visto en
http://www.ravelry.com/patterns/library/knit-bunnies
Tutorial
http://josoandsew.wordpress.com/tutorials/knitted-bunnies/
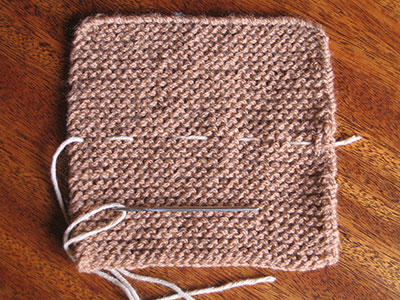
Knitted Bunny tutorial - Step 1
Then stitch up into one half of the square to make a triangular shape – as in the picture
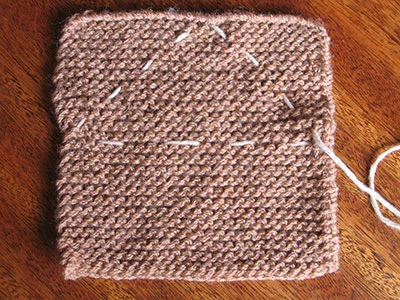
Knitted Bunny tutorial - Step 2
As you start to pull this thread you can see the head and ears of the bunny start to form.
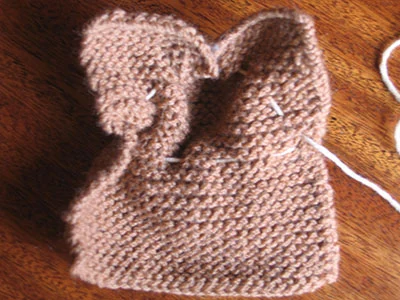
Knitted Bunny tutorial - Step 3
Before you pull it too tight – push in some stuffing (I have used pure wool here but you could use polyester)
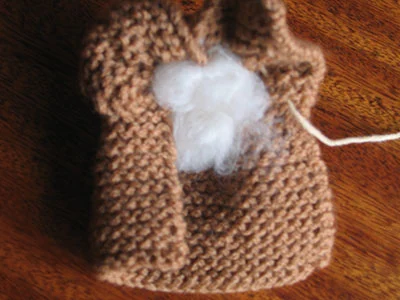
Knitted Bunny tutorial - Step 4
Pull the thread tight and make a couple of stitches through the hole to secure.
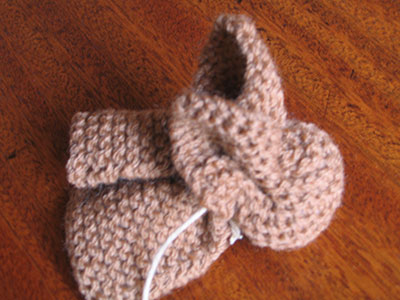
Knitted Bunny tutorial - Step 5
Next – stitch down the back of the bunny (square section) leaving a hole big enough to stuff this section.
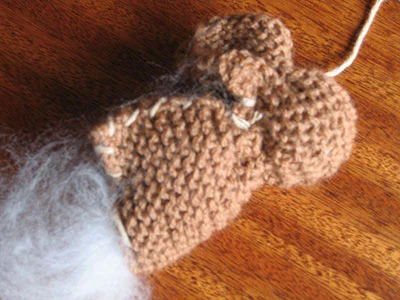
Knitted Bunny tutorial - Step 6
As you get to the end of this part – pull the thread quite firmly so
that this point comes up to the bunnies neck and make a couple of
stitches to secure it.
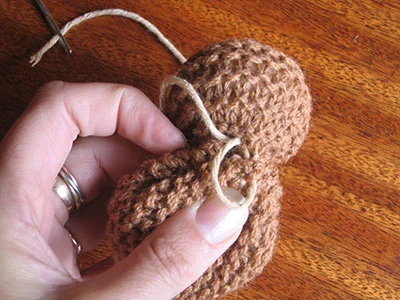
Knitted Bunny tutorial - Step 7
I then position the ears how I’d like them with a few stitches at the base of the ear (to close that bottom part of the ear)
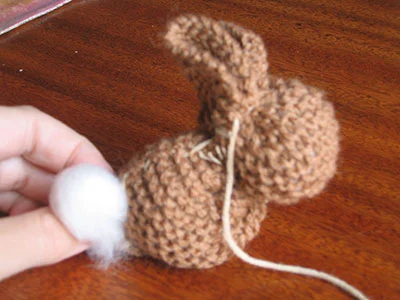
Knitted Bunny tutorial - Step 8
To make the tail I like to get a little ball of unspun fleece and use
a dry felting needle to attach it to the body. As an alternative – just
make a tiny pom pom and sew it in place. Experiment with alpaca or
angora wool if you’d like a fluffier bunny! Have fun with it….
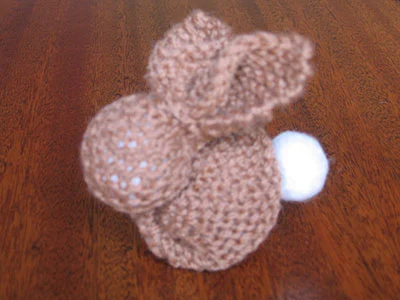
Knitted Bunny tutorial - Step 9


No hay comentarios:
Publicar un comentario